Did you know that learning how to make moringa powder yourself can give you a fresher, purer product than most store-bought versions?
While health stores charge premium prices for this “miracle tree” powder, crafting it at home lets you control every step—from harvesting vibrant leaves to preserving their nutrients.
That said, we understand that drying, grinding, and processing leaves takes time. If you’d rather skip the work without sacrificing quality, we offer a premium, Florida-grown moringa powder—harvested at peak freshness, lab-tested, and free from fillers. Use Code: STACIE10 for 10% off your first order.
Whether you choose DIY or our ready-made option, here’s everything you need to know.
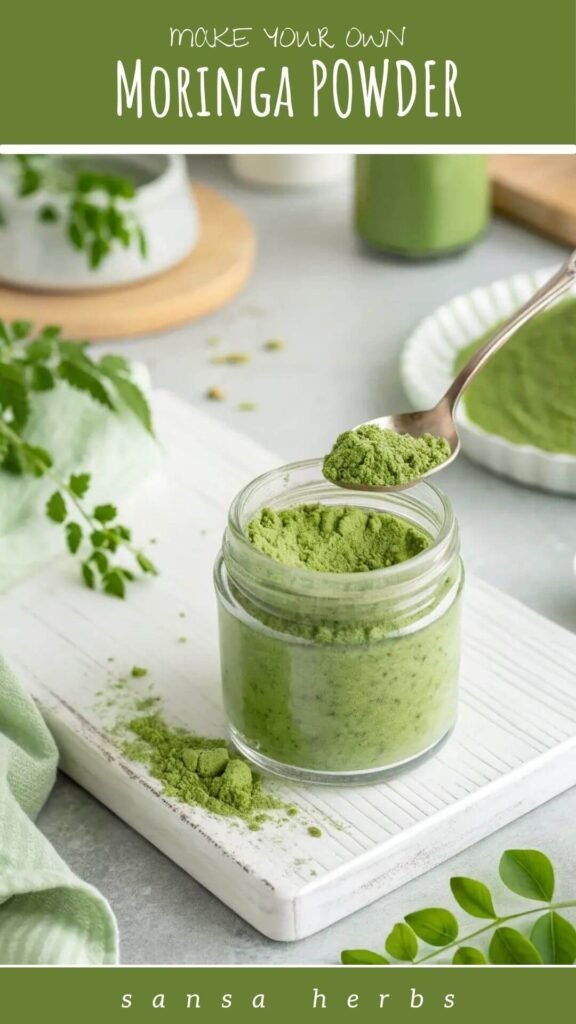
Why Moringa Powder Is Worth the Effort
Moringa oleifera, often called the “miracle tree,” has been used for centuries in traditional medicine. Its leaves contain:
- 6x more vitamin C than oranges
- 15x more potassium than bananas
- High levels of iron, calcium, and antioxidants
But not all moringa powders are created equal. Many commercial brands lose nutrients during processing or add anti-caking agents. By learning how to make moringa powder yourself—or choosing a trusted small-batch source—you ensure maximum freshness and potency.
You may enjoy: Moringa Benefits for Women’s Health: Science-Backed Secrets for Health, Glowing Skin & Hair Growth
How to Make Moringa Powder: Step-by-Step
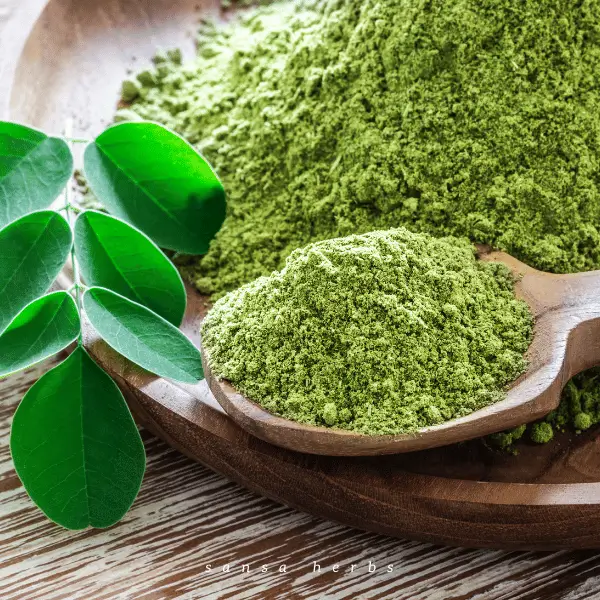
1. Harvesting Quality Moringa Leaves
The foundation of superior Moringa powder lies in the quality of the leaves harvested. This initial step significantly impacts the final nutrient profile, color, taste, and digestibility of the powder.
2. Timing is Key
Harvest Moringa leaves early in the morning when they are most hydrated, which may influence their nutrient content and how they respond to the drying process.
3. Choose Wisely
- Select vibrant, healthy, uniformly green leaves
- Prioritize younger, tender leaves for higher nutrients, milder flavor, and better digestibility
- Avoid mature leaves which may cause stomach upset in some individuals
- Discard any leaves with damage, yellowing, brown/black spots, or insect infestation
4. Harvesting Techniques
- For Trees: Trim selected branches, cut branches back by half, or cut the entire tree to 1-2 meters (3-6ft) height
- Cutting the main trunk to about 1 meter encourages bushier growth
- Major pruning is best during rainy season to allow recovery
- For Intensive Plots: Trim plants closer to ground level (15-50cm) multiple times per year
5. Immediate Handling
Promptly strip leaflets from the tougher, fibrous stems (petioles and rachises) after harvesting. Stems don’t grind well and detract from a smooth texture.
6. Contamination Alert
Be vigilant for contaminants, especially bird droppings. Discard any affected leaves immediately – washing is NOT sufficient to remove this contamination.
Remember, the care taken during harvesting directly influences the quality of your final Moringa powder.
Hygiene & Washing: The Foundation of Purity
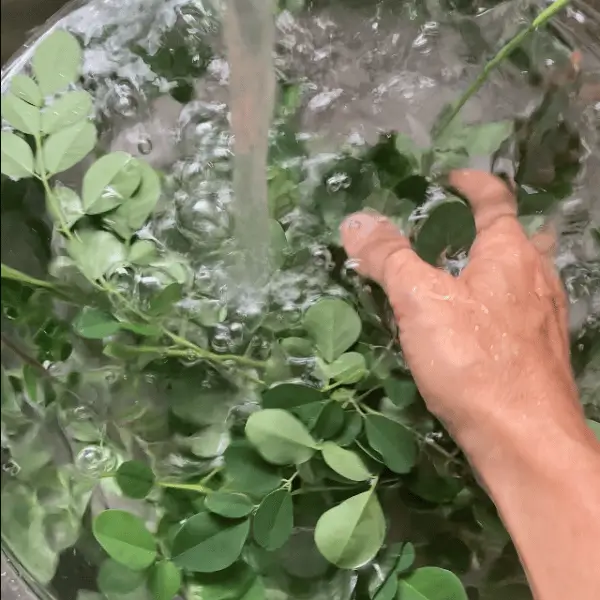
Meticulous cleaning is paramount for producing safe, high-quality Moringa powder. This stage removes not only visible dirt and dust but also unseen microbes and potential contaminants, contributing significantly to the powder’s purity and shelf stability. Think of hygiene not as a single step, but as an underlying principle throughout the process.
1. Personal Hygiene First
- Wash hands thoroughly with soap and clean running water for at least 20 seconds
- Remove jewelry (rings, watches, etc.)
- Cover any cuts or open sores with waterproof bandages
- For new cuts, use a double barrier (bandage plus glove)
- Consider using additional protection when preparing for others:
- Gloves
- Hair nets
- Beard nets (if applicable)
2. Washing Protocol
- Rinse leaflets thoroughly under cool, clean, running potable water
- Avoid surface water or agricultural well water
- Gently agitate leaves in a clean basin to dislodge particles
- Repeat rinsing 3-4 times or until water runs clear
- Optional enhancement: Soak in 1% saline solution (10g salt per liter of water) for 5 minutes, followed by thorough rinsing
- For commercial production: Some protocols mention dilute bleach solutions (1:100) or food-grade sanitizers, but clean potable water and saline soak are generally sufficient for home preparation
3. Handling During Washing
- Use clean wash tubs or basins
- Sanitize tubs before use for larger quantities or shared powder
- Never allow leaves or containers to contact the ground
4. Draining
- Gently shake leaves to remove excess water
- Place in clean colander or sanitized perforated tub
- Allow water to drain thoroughly for 10-15 minutes before drying
- Removing surface water aids in more efficient drying
These rigorous hygiene practices minimize microbial load, reduce spoilage risk during drying, ensure safe consumption, and contribute to a purer powder with better stability.
Drying: The Critical Step for Nutrient Preservation

Drying is arguably the most critical stage in making high-quality Moringa powder. It’s a delicate balancing act: the leaves must be dried quickly enough to prevent the growth of mold and mildew, which thrive in moist conditions, yet gently enough to preserve the heat-sensitive and light-sensitive nutrients, particularly vitamins A and C, as well as the vibrant green color that signifies quality. Fresh Moringa leaves have high moisture content, making them perishable if not dried properly.
Understanding Key Drying Factors
Temperature
- Major determinant of drying speed and nutrient retention
- Higher temperatures accelerate drying but degrade heat-sensitive compounds
- Studies show considerable vitamin C loss at higher oven temperatures (60-65°C)
- Optimal temperature range for vegetable vitamins: 35-60°C
- Moringa-specific research suggests 50-55°C offers good balance in oven settings
- Higher temperatures tend to darken the powder
- Minerals like calcium and iron are generally more stable during drying
Light
- Direct sunlight exposure is detrimental due to ultraviolet (UV) radiation
- UV degrades vitamins A and C
- Shade drying preferred for nutrient quality
- Sun drying should include protection from direct rays
- Sun-dried powder may develop undesirable brownish color
Humidity
- High ambient humidity significantly slows drying
- Extended moist periods increase mold and spoilage risk
- In humid conditions, ensure excellent air circulation
- Consider using supplemental low heat (like a dehydrator) in humid environments
Air Circulation
- Constant, gentle air movement around leaves is vital
- Spread leaves in thin, single layer rather than piling
- Use mesh drying racks, screens, or hanging trays for all-around air access
- Fans can assist circulation but should not blow directly on leaves to avoid contamination
Testing for Dryness
- Leaves must be completely dry and brittle
- Should crumble easily when touched or crushed between fingers
- If leaves still feel pliable or soft, they contain too much moisture and need further drying
- Ideal final moisture content: below 7% to prevent microbial growth during storage
Ultimately, the choice of drying method involves balancing the desire for maximum nutrient retention with practical considerations like climate and equipment availability. For those prioritizing the highest nutritional quality and best color, shade drying (in low humidity) or using a food dehydrator on a low setting are the preferred methods. Oven drying requires extreme care to avoid damaging the leaves, and sun drying should generally be avoided if preserving vitamins is a primary goal.
Grinding: Achieving a Fine, Smooth Powder
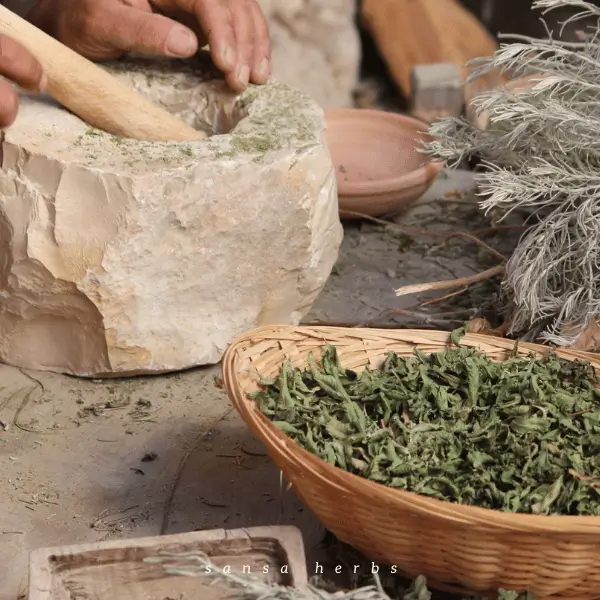
Once the Moringa leaves are perfectly crisp and dry, the next step is transforming them into a fine powder suitable for culinary and supplemental use.
The Goal: The objective is to achieve a uniformly fine powder, free from coarse particles or fibrous material.
Achieve a uniformly fine powder, free from coarse particles or fibrous material.
Tools for the Task: Several tools can accomplish this:
- Electric Grinders
- High-speed blender (like Vitamix or Ninja)
- Dedicated spice or coffee grinder
- Food processor
- Ensure appliance is thoroughly clean and dry before use
Manual Methods
- Mortar and pestle (requires more physical effort)
- Rubbing dried leaves through fine mesh screen
- Local grain grinders or burr mills
Grinding Technique
- Process dried leaves in small batches rather than overloading
- Remove remaining small stems or petioles before grinding
- Be mindful of heat generation with electric grinders
- Use short bursts or pulses if necessary
- Extended running can generate heat that degrades nutrients
- For home use, achieving fine consistency is the main goal
Sifting for Perfection
- Pass powder through fine-mesh sieve or strainer after grinding
- Removes remaining fibrous material and stem fragments
- Ensures uniform, pleasant texture
- Return larger particles caught in sieve for second processing
Post-Grinding Drying (Optional but Recommended)
- Finely ground powder readily absorbs ambient moisture
- For enhanced shelf stability:
- Spread sifted powder thinly on a tray
- Dry in oven at 50°C (122°F) for about 30 minutes
- Allow to cool completely before storing
Grinding is more than just pulverization; it’s about achieving the desired texture while preserving quality. Gentle processing and thorough sifting are key to a premium homemade product.
Storage: Protecting Your Precious Powder
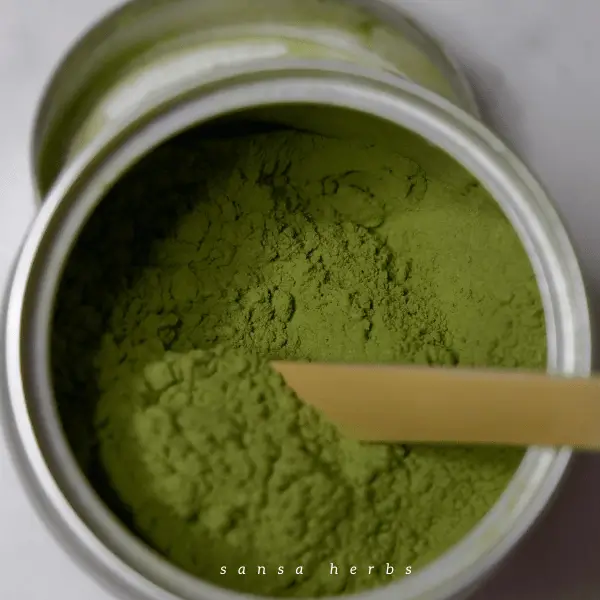
Proper storage is the final, essential step in preserving the quality and potency of your homemade Moringa powder. All the effort put into careful harvesting, washing, drying, and grinding can be undermined if the powder is not stored correctly. Storage is an active preservation strategy, not a passive afterthought.
Immediate Storage
- Transfer powder immediately after grinding, sifting, and cooling
- Delaying storage exposes powder to air and humidity
The Right Containers
- Airtight containers are non-negotiable
- Glass jars with tight-fitting lids highly recommended
- Glass is non-reactive and provides excellent barrier
- Ensure containers are perfectly clean and completely dry
- Residual moisture can cause clumping and spoilage
- Vacuum sealing is another effective option for removing air and extending freshness
Optimal Conditions
- Store sealed containers in consistently cool, dark, and dry location
- Avoid exposure to heat, direct light (including sunlight), and humidity
- Ideal storage: pantry or cupboard away from stove or sunny windows
- Maintain temperature below 24°C (75°F) for optimal preservation
Why Proper Storage Matters
- Moisture absorption causes clumping and microbial growth
- Light and heat accelerate nutrient breakdown
- Improper storage causes vibrant green color to fade
- Proper storage protects potency, color, texture, and overall quality
Shelf Life
- When stored correctly: up to 6 months of good quality
- Commercial packaging may extend shelf life
- For homemade powder, aim to use within 6 months
- Potency gradually decreases over time
Treat storage as the final crucial act of preservation. Airtight, dark, cool, and dry conditions are essential to protect the vibrant, nutrient-rich powder you’ve carefully crafted.
How to Use Moringa Powder Daily
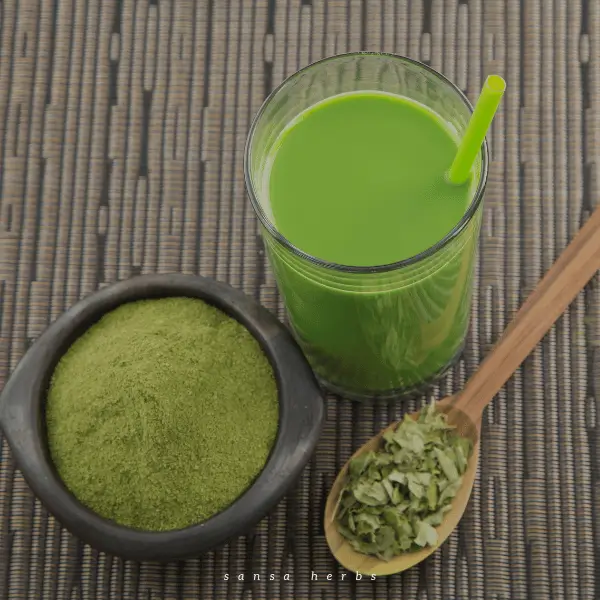
- Smoothies & juices (1 tsp per serving)
- Soups, stews, or scrambled eggs
- Homemade energy bars or protein balls
- Face masks (mix with honey or yogurt)
Final Thoughts: DIY or Ready-Made?
Learning how to make moringa powder is a rewarding process, but it’s not for everyone. If you want the benefits without the effort, our Florida-grown, pure moringa powder offers the same quality as homemade—just scoop and go.
Ready to Get Started?
- DIY route: Share your results with #HomemadeMoringa!
- Shortcut option: Try Our Lab-Tested Moringa Powder
- Grow your own: Start with a Moringa Grow Kit
Fresh. Pure. Nutrient-Packed. 🌿
(Note: If foraging, always confirm plant ID with an expert. When in doubt, grow your own or buy from a trusted source.)
🌿 Want the Full Scoop on Moringa?
Whether you’re sipping moringa tea or starting a business, there’s so much more to this powerful plant. Explore all the benefits of moringa—from wellness to income—on our full guide:
Read: Discover the Benefits of Moringa →